During your outdoor adventures, maintaining personal hygiene is paramount to yours and others’ comfort and enjoyment. If you’re new to camping, or about to take a long road trip, you might be wondering “how to shower without running water?” Fortunately, several quick methods exist to ensure your cleanliness. Below, we’ll cover four easy methods, along with the steps and necessary items for each method.
To shower without running water, several methods can be used depending on the available resources and preferences. One approach is to use body wipes or wet wipes.
Body wipes can be used for a quick and convenient cleansing solution, especially when water is scarce. Additionally, a bucket shower, where soapy water is collected in a large bucket or container and then scrubbed on your body with a brush, sponge, or hand towel. Another option is a solar shower, utilizing a solar shower bag or container filled with water heated by the sun and then hung for showering.
Finally, portable camping showers provide a pressurized stream of water, offering a more traditional shower experience in outdoor settings. Each method has its advantages and disadvantages, allowing individuals to choose the most suitable option based on their specific needs and circumstances.
Body Wipes – Showering Without Running Water

Wet wipes or body wipes are the easiest solution, and is the one method I use every time I camp without running water. It is not the only method I use to clean myself without water, but it is the most common one I use.
It’s an easy solution to keep clean without running water. The biggest advantage is exceptional portability and usability.
You will not find a smaller, easier, or quicker way of cleaning yourself without running water.
They’re also the easiest to use as they require no additional equipment or water source, neither running water nor carried.
Their size makes them perfect for backpacking trips or where space is limited. They remove dirt, sweat, and odor and provide a quick and convenient clean feel.
They are also disposable, reducing the need for cleanup or dumping of dirty water.
However, wet wipes also have limitations.
While they are perfect for freshening up between showers or for spot cleaning, they don’t provide the same level of cleanliness as traditional showers.
Additionally, reliance solely on wet wipes may not be sustainable for longer camping trips or emergencies where access to clean water for rinsing is limited. Despite these drawbacks, wet wipes are a practical option, and one I use every trip, for maintaining hygiene on the go, offering convenience and versatility in almost every outdoor scenario.
Items Needed for Body Wipe Showers
- Wet wipes or body wipes
- Soap (optional)
- Towel (optional)
- Water (optional, for rinsing if desired)
Steps for Body Wipe Showers
- Take a wet wipe or body wipe from its packaging, ensure it’s damp enough for effective cleaning.
- Wipe down your body, paying particular attention to areas prone to sweat accumulation or odor accumulation.
- If desired, apply soap or body wash to the wipe for an extra cleansing.
- Dispose of the wipes used in a designated waste bag.
- If water is available, rinse off remaining residue for a refreshing finish.
- Pat yourself dry with a hand towel if needed, ensuring your comfortable and readiness to tackle your next adventure.
Bucket Shower – Showering Without Running Water
The bucket shower method has both advantages and disadvantages for your hygiene.
On the positive side, it is incredibly versatile and requires minimal equipment, making it accessible to most campers. With a large bucket or container and some soapy water, campers can enjoy a clean shower almost anywhere. Additionally, this method allows for precise control over water usage, promoting conservation in areas where water may be scarce. However, the bucket shower does have limitations. It may be less convenient for individuals with mobility issues and can feel weird to do if camping in crowded areas where privacy may be limited. Furthermore, heating water for warmth may require additional time and effort, especially in cooler climates. Despite these drawbacks, the bucket shower is more effective than body wipes and a practical option for keeping clean during outdoor adventures.
Items Needed for Bucket Showers
- Bucket
- Water
- Gentle Soap
- Sponge
- Towel
Steps for Bucket Showers
- Begin by filling a bucket or container with clean water.
- Identify a secluded area to set up your shower.
- Use a sponge or cloth to absorb water from the bucket and scrub it on your body.
- Apply soap directly on your body and lathering and scrub with your hands.
- Rinse off soapy residue with the sponge or cloth, and by pouring remaining water from the bucket.
- Pat yourself dry using a small towel, you won’t need a large towel, you will not be as wet as a you are after a typical shower.
Additional tip: Heat up some of the water over a fire or camp stove to make this method extra refreshing.
Solar Shower – How to Shower Without Running Water

The solar shower presents unique advantages and disadvantages for outdoor bathing. One significant advantage is its eco-friendliness, as it uses solar energy to heat water naturally, reducing reliance on camp stoves or firewood. Additionally, the portability of solar shower bags or containers makes them convenient for camping trips and road trips. The method also allows for warm showers, enhancing comfort, especially in colder climates.
However, solar showers have limitations, particularly on overcast days or in densely shaded areas where sunlight is scarce. On those days, or cold ones, your shower will not be warm. Furthermore, the setup is quick, but the heating process, although easy, requires time which may not always align with the user’s schedule. Additionally, the capacity of solar shower bags can be limited, necessitating refills for groups. Despite these drawbacks, the solar shower method remains a sustainable and practical option for outdoor hygiene. It provides warmth and comfort and minimizes environmental impact. Furthermore, a solar shower takes up virtually no space in a backpack or gear bag, meaning I typically take one along regardless if it gets used.
Items Needed for Solar Showers
- Sunlight
- Soap
- Water
- Towel
- Solar Shower Bag
- Something to Hang Solar Shower Bag From
- Tree branch, Canopy, Awning, Holding it over your own head, etc.
Steps for Solar Bag Showers
- Fill a solar shower bag with water.
- Place the solar shower bag in direct sunlight.
- To reach 100 Fahrenheit could take 1-3 hours.
- Once heated, hang the bag from a tree branch or any support system.
- Adjust the flow of water using the nozzle or hose on the solar shower bag.
- Apply soap to yourself and lather and scrub.
- Rinse away any soap residue by allowing the warm water to cascade over your skin.
- Complete the showering process by drying off with a towel, ensuring you’re comfortable and refreshed.
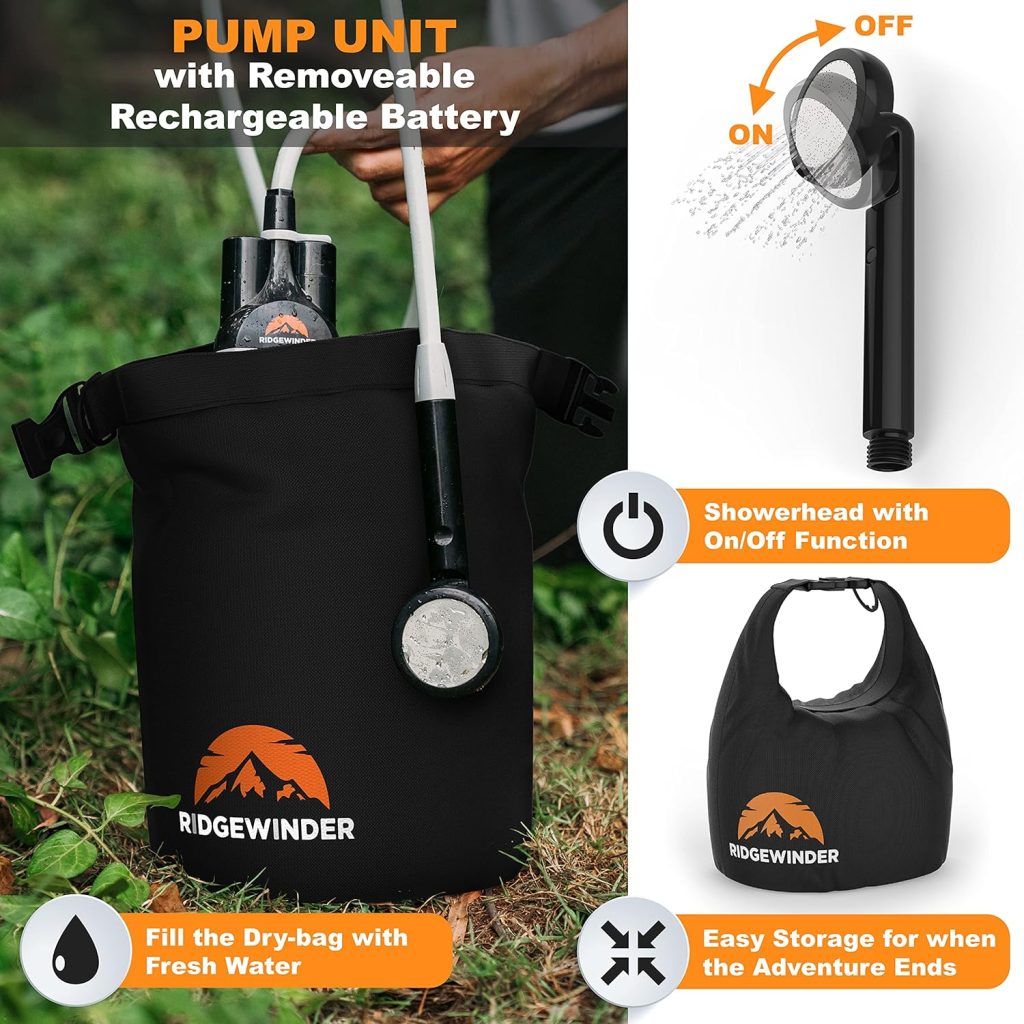
Portable Camping Shower – How to Shower Without Running Water
The portable camping shower method presents both advantages and disadvantages for outdoor hygiene. One significant advantage is its ability to provide a consistent and pressurized stream of water, closely resembling a traditional shower experience. This method offers flexibility in terms of water usage and temperature control, allowing campers to adjust settings according to their preferences. Additionally, portable camping showers are reusable and can be easily transported, making them suitable for extended camping trips or emergencies.
However, there are drawbacks to consider. Portable camping showers require additional equipment, such as a water source and a means of pressurization, which could add to the overall weight of gear. Moreover, depending on the type of portable shower used, setting up and pressurizing the system may require time and effort. Additionally, the availability of water sources for refilling the shower tank may be limited in certain environments. Despite these challenges, portable camping showers offer a convenient and comfortable bathing solution for outdoor enthusiasts, enhancing hygiene and comfort during extended stays in nature.
Items Needed for Portable Camping Showers
- Portable Camping Shower
- Soap
- Water
- Towel
Steps for Portable Camping Showers
- Fill the portable camping shower with water.
- Depending on the type of portable shower you have, follow the device’s instructions to pressurize or pump the system.
- Once pressurized, control the flow of water using the attached hose or nozzle.
- Apply soap directly to your body and lathering and scrub.
- Rinse away any remaining soap residue by allowing the shower water to cascade over your skin, ensuring thorough cleansing.
- Dry off with a small towel, ensuring you’re clean, comfortable, and ready for your next adventure.
Conclusion
As you camp and travel, you will likely find yourself using all of these methods interchangeably, depending on the circumstance that you’re in.
In a car or plane for 12 hours straight? If you don’t have access to running water for a shower, body wipes may do just fine in a pinch. Has it been a day or two since your last shower, and you still have a few hours to go? Some body wipes can give you those extra hours, or a bucket shower could give you an extra day. With body wipes, a collapsible bucket, and a solar showe bag all being so small, it would not be uncommon to carry all three in your car, depending on the journey you’ll be on.
With these methods, and packing the essential items for each, you can maintain optimal cleanliness and comfort even in the most challenging environments. Whether embarking on a week long hike, or navigating through unexpected emergencies, these showering techniques ensure you remain fresh and revitalized, ready to conquer whatever lies ahead.
Happy camping!


Leave a Reply